


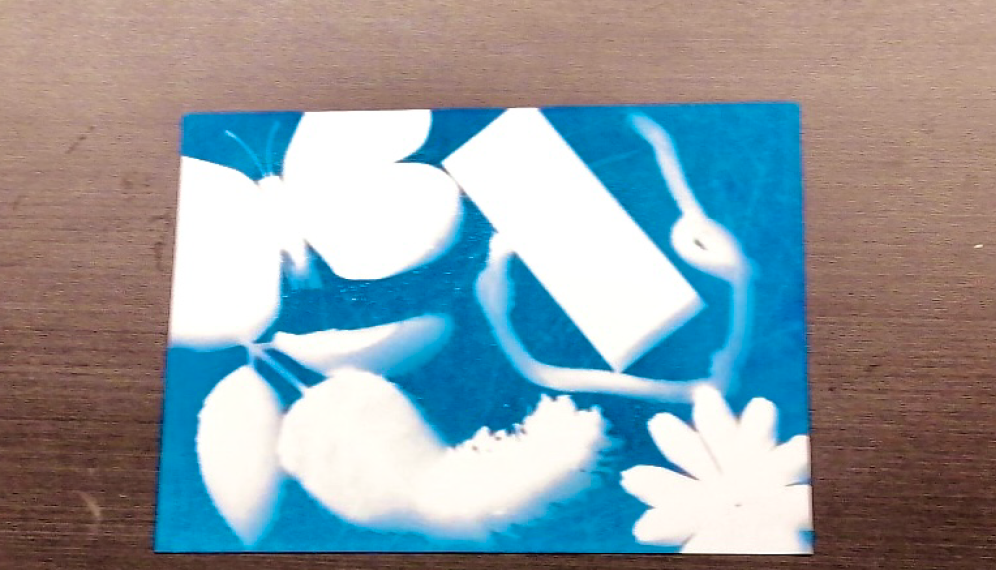
With long days and intense summer light, get creative with cyanotypes! Cyanotype is a photographic process invented in the 1840s that results in deep blueprints and it is easy to do at home! Gather the following materials and you will be well on your way to creating unique images in no time. To see instructions with pictures, download this pdf.
Materials
- Cyanotype paper (sometimes called sun print paper)
- a shallow tray with water
- a plexiglass plate or glass from a frame;
- small objects like string, buttons, twist ties, puzzle pieces, scrap paper
- natural objects like sticks, grass, and flowers (but only ones you find on the ground)
- fabric and lace; etc.
Instructions
1) Check the weather, you'll want to make your cyanotypes on a sunny day. If the day is perfect, gather your materials and go outside to the sunniest spot. Place your water container and other materials close by.
2) Carefully, unwrap the cyanotype paper bag and take one sheet out. The paper is light-sensitive and will begin to change as soon as the light hits the paper so you have to work fast! Don't forget to close the bag up tight so the rest of your paper stays protected.
3) Lay out your paper and arrange different objects on it. Feel free to move objects or take off and replace objects as you go. Use the plexiglass to cover your composition if it's windy outside. The longer an object is on the paper, the more white will be left in the final image. After 10 minutes or so, take all the objects off and pop your paper into the water.
4) Watch your image appear! Agitate the water by tipping it from side to side, keep going until the water runs clear. Carefully grab a corner of your print pulling it out of the water and place it somewhere to dry. Voila! you have completed your first cyanotype. Continue to experiment with an assortment of objects, placement and timing to produce a series of beautiful blueprints. For more inspiration, check out the artwork of Anna Atkins, cyanotypist extraordinaire!