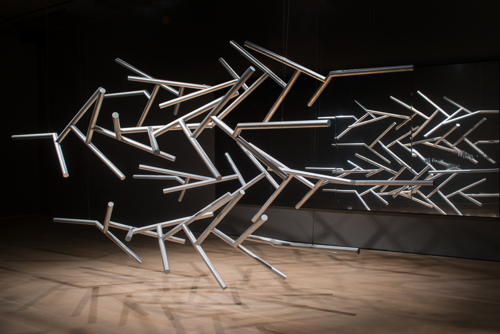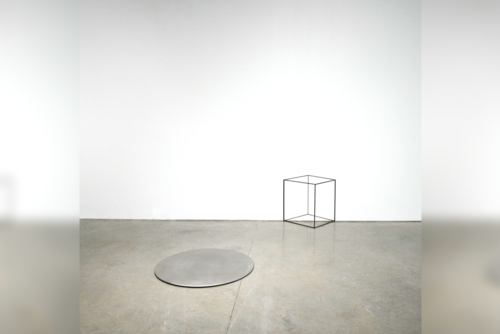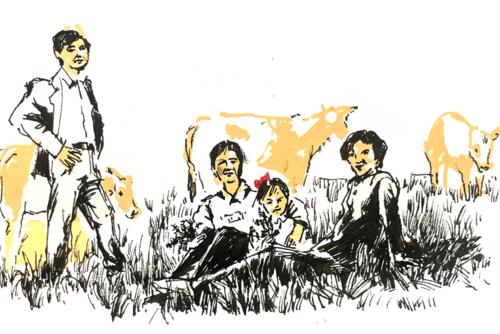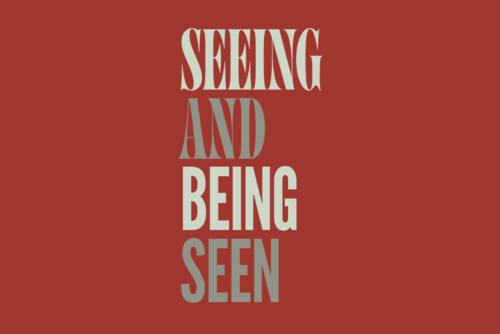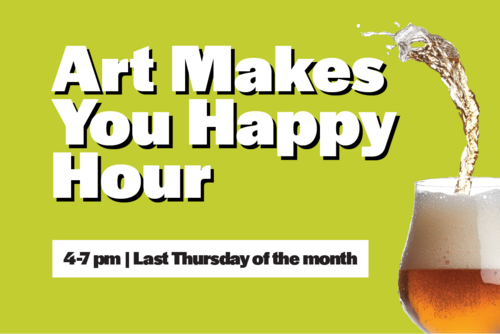
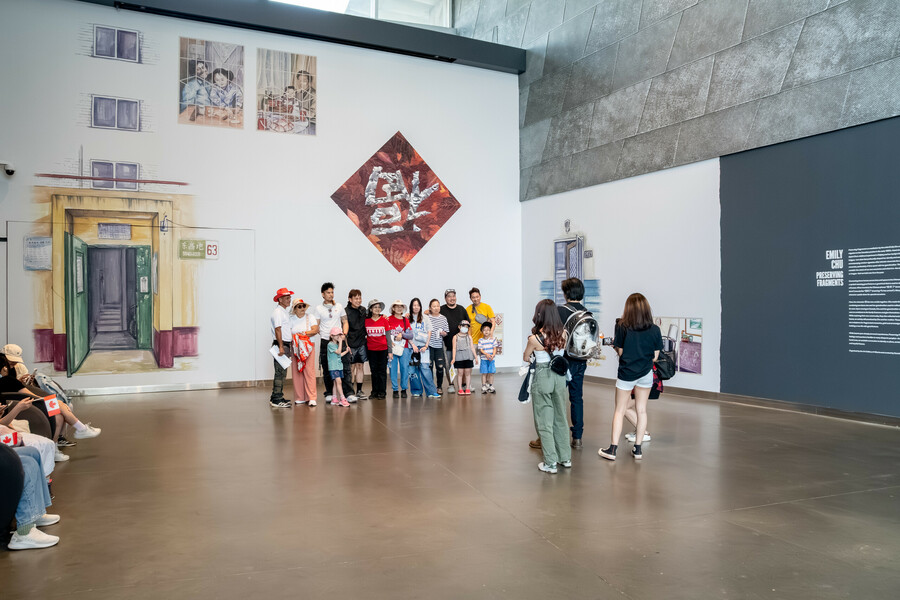
Current Exhibitions

Explore our latest exhibitions, where every visit offers a new opportunity to connect with captivating works and uncover fresh insights.
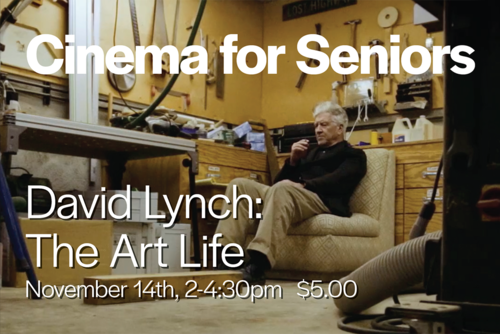
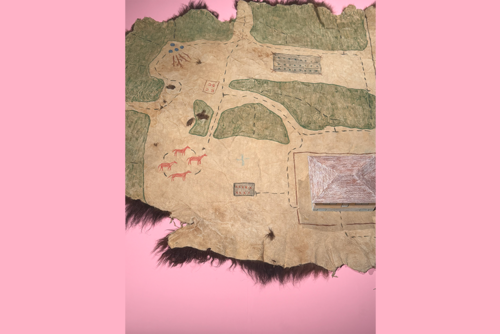
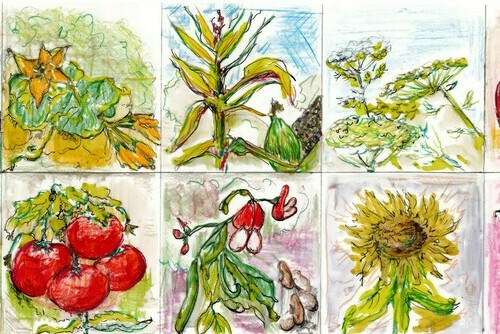
Past Exhibitions
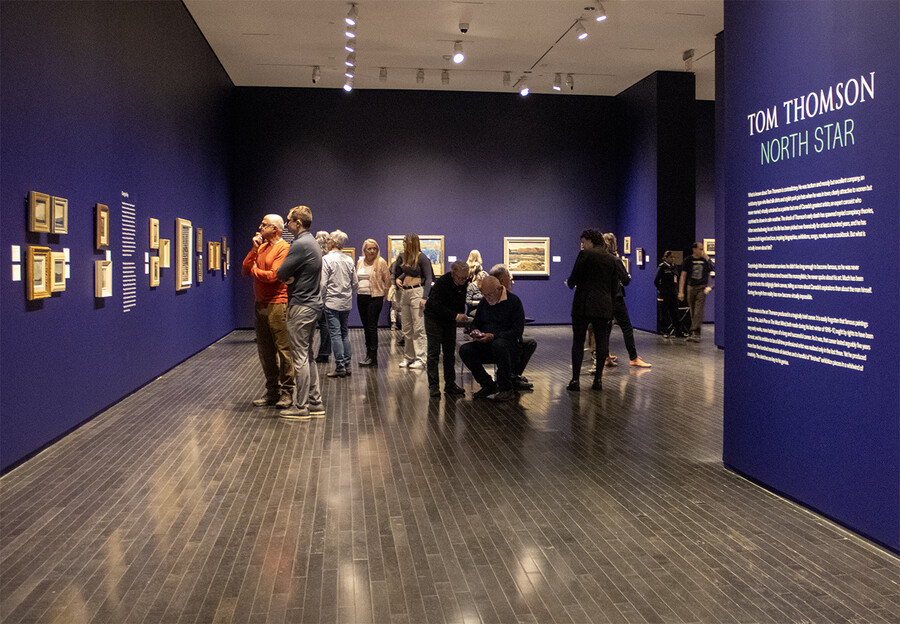
Did you miss an exhibition or want to look back on a favourite? Find all exhibitions since 2010.