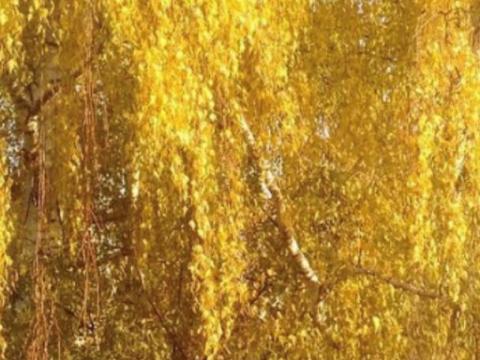
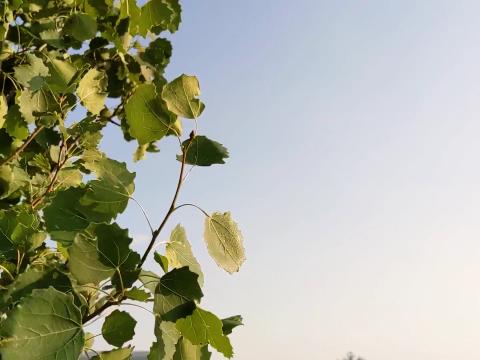
Over the past year and a half, the pandemic has limited us in the places we can go internationally, keeping us closer to home and supplying an opportunity to discover or re-visit some of the beautiful places we have within Canada.
For this project you will recall a place that you have traveled to on land, within Canada. You will use your memory to recall details from the locations and then, with google maps, view the same location from an ariel perspective to give you a new reference for your creation. With these memories and digital references, you will re-create your landscape using watercolour paint, foam block print stamps and sharpie to present your special place in a completely different way.
Materials
-
Plain paper for sketching
-
Pencil
-
Crayons, pencil crayons or markers for sketching
-
Sturdy paper approximately 8” x 10” that can be used with watercolour paint
-
Watercolour paint
-
Brushes
-
Styrofoam tray about the size of your watercolour paper or larger, to cut up for block print
-
Scissors
-
Acrylic paint or tempura paint (1-3 colours)
-
Wax paper for paint pallet
-
Sharpie
The Process
SKETCH AND BRAINSTORM
-
Think of a road trip you have been on, a new town you have visited, a place you have camped or hiked, or even a new place or park you discovered within your town or city. Use the following questions as a guide:
-
What do you remember about it? What did you see?
-
What colours do you remember?
-
What did the land look like? Was wet or dry? Were there trees, flowers or different plant life? Animals? What kind?
-
Were there human-made structures?
-
What textures did you see smooth, soft, bumpy, squishy?
-
Make a list of all the special and memorable things about your chosen place. Draw sketches beside the descriptions to help remind you of what it was like to be there – try using colour to record these ideas to really give your sketches some life!
-
Technology time! Hop onto google maps and search the location of your special place. Look at the landscape from the ariel perspective. Pay attention to the shapes and textures from this view. Viewing the land from this perspective, what elements you find the most distinct, surprising, or interesting about the land? Draw the elements of the landscape that capture your eye. This drawing will be your reference for the block print part of the project. *Line drawing works the best for this, so try to make the focus of your drawing the lines and shapes of the land.
PAINT, PRINT AND DRAW
Now you will take your brainstorming ideas and create your artwork. Watch our video for step-by-step visual instructions of the process.
-
Watercolour background: Your first layer is an abstract watercolor painting inspired by the environment of your chosen place. Refer to your list of the special things, recalling the colours, sights, sounds and mood of how it felt when you were there. Take your watercolour paper, paint, brush and water and fill your paper with painted colours and textures to describe how you felt. After you paint the background, let the paint dry completely before moving on to step 2.
Watercolour Techniques to try:
-
Try moving your brush in unusual ways: swirls, lines, zigzags, dots, and dabs.
-
With crumpled paper towel dab your wet paint to lift the paint and create texture
-
Add two wet paint colours side by side onto your paper and let them blend to make a new colour
-
Use the wood tip of your paintbrush and draw into your wet paint to create light lines and faint textures.
-
Fan your brush with your finger or thumb and dragging or lightly fanning the bristles across your paper top create texture.
-
Creating a block print landscape: Look at your line drawings from google maps and decide on two or three patterns to print on your background. Take your Styrofoam tray and cut off the lip/edge so you have a flat sheet of foam. Now cut that into two or three smaller squares to use for your block print. Take your pencil and draw into your foam the pattern you chose. Make sure you press your pencil so the foam indents and makes grooves. If you run your fingers over the lines, you should feel a distinct difference between the flat undrawn areas and the drawn portions. Do not get too detailed as fine detail might not show up. Repeat the process with your other pieces. Once the drawings on your foam are complete, you may choose to cut the foam to follow the outer contour of your drawing, so the edges are not square.
Printing your foam block print: Add some paint on your wax paper, then take your brush and paint over the flat surfaces of one your foam plates. It is okay if you get paint in the indented areas, it will just add an extra surprise element to your print. Try to work quickly with the paint so it does not dry on the foam. When fully covered, flip the foam piece paint side down onto the area of your background where you want it. Once the foam is placed, do not move it. Press firmly on the back of the foam, without crushing it, to transfer the paint from the foam to the paper. Peel back the foam from the edge to remove it from your paper and you should see your printed drawing. Repeat with the other one or two sheets. Tip: you can reuse your foam pieces, but you will have to add more paint before you re-stamp it. Set aside and let paint dry completely before continuing to step 3.
-
Sharpie drawings: When your block prints are dry, refer to your list and earlier sketches. Using your sharpie draw some of these elements into your landscape. You may choose to make more abstract drawings or more detailed representational drawing. It is up to you! Add only the important things you want to include, no need to add everything.
-
Admire your work and post a picture, tagging #youragafromhome for us to see!
Vocabulary
Abstract: Abstract art is art that does not try to represent an exact depiction of what we see but instead use shapes, colours, forms and gestural marks to achieve its effect
Representational: In art, refers to depicting objects, figures, or scenes how they really are
Block print: is a traditional form of printmaking that uses handmade stamps: i.e., wood, linoleum, rubber, or many other materials. Artists carve images into the material with special carving tools and then transfer the impression onto paper or fabric using inks, dyes, and other paint resources.